Stop Waiting! How Do I Stream Start My TV in 2025 and Watch Everything Instantly
Getting Your TV Ready for Streaming Made Simple
How do I Stream Start my TV? Turning your regular TV into a streaming powerhouse is easier than you think. This guide is perfect for anyone who wants to stream and start their TV but feels overwhelmed by all the setup options and technical steps.
We’ll walk you through checking what streaming features your TV already has built in and getting it connected to your home internet. You’ll also learn how to set up the most popular streaming apps like Netflix and Hulu, plus discover when you might need an external device like a Roku or Fire TV Stick to unlock even more content options.
Check Your TV’s Built-in Smart Features
Identify your TV’s operating system and streaming capabilities.
Modern smart TVs come equipped with different operating systems that determine which streaming apps and features are available to you. The most common systems include Samsung’s Tizen, LG’s webOS, Android TV (found on Sony and other brands), Roku TV, and Fire TV Edition. You can usually find this information in your TV’s settings menu under “About” or “System Information.”
Different operating systems offer varying levels of streaming capability. Samsung’s Tizen provides access to major streaming platforms like Netflix, Prime Video, and Disney+, while also supporting Samsung TV Plus for free content. LG’s webOS features an intuitive interface with Magic Remote support and includes LG Channels for additional free streaming options. Android TV offers the widest app selection through the Google Play Store, including niche streaming services and games.
To check what your TV can do, grab your remote and explore the home screen. Look for pre-installed streaming apps or an app store icon. Some TVs display available streaming services as tiles or cards on the main menu, while others organize them in a dedicated apps section. Take note of which services are already installed and which ones you might need to download.
If your TV is older than five years, it might have limited smart features or outdated streaming capabilities. Some older smart TVs can’t run newer versions of popular apps, which means you might miss out on the latest features or content updates.
Navigate to your TV’s app store or streaming platform
Finding your TV’s app store varies by brand and model. On Samsung TVs, look for the “Apps” button on your remote or find the Apps panel on the home screen. The Samsung App Store will open, showing featured apps, categories, and a search function. Popular streaming services usually appear in the “Video” or “Entertainment” sections.
LG TV users should press the home button and scroll to find the LG Content Store. The store organizes apps by categories like “Premium,” “Games,” and “Lifestyle.” Most streaming apps are found under the Premium section, which features paid subscription services and popular free platforms.
Android TV makes app discovery straightforward through the Google Play Store. Access it from the home screen’s Apps row or by voice command if your remote supports it. The Play Store on TV looks similar to the mobile version but is optimized for larger screens and remote navigation.
Roku TV users will find the Streaming Channels store easily accessible from the home screen. Roku’s interface is particularly user-friendly, with clear categories and detailed app descriptions. The platform also suggests channels based on your viewing habits and popular trends.
Fire TV Edition TVs use Amazon’s Appstore, which you can reach from the main menu. Amazon prioritizes its own content and services, but all major streaming platforms are available for download.
Update your TV’s firmware for optimal performance.e
Keeping your TV’s firmware current ensures you get the best streaming experience possible. Outdated firmware can cause app crashes, slow performance, and compatibility issues with newer streaming services. Most smart TVs check for updates automatically, but it’s worth verifying this setting and manually checking for updates regularly.
Samsung TVs typically update automatically when connected to the internet. You can check for updates manually by going to Settings > Support > Software Update > Update Now. The process usually takes 10-15 minutes, and your TV will restart when complete. Don’t turn off your TV during this process.
LG TVs handle updates through Settings > All Settings > General > About This TV > Check for Updates. Some LG models allow you to schedule updates during off-hours to avoid interruptions during your viewing time.
Android TV updates come through the Google Play system updates and Android security patches. Navigate to Settings > Device Preferences > About > System Update to check manually. These updates often include new features and improved app compatibility.
Regular firmware updates also improve security, protecting your smart TV from potential vulnerabilities. They can add new streaming services, enhance existing app performance, and sometimes introduce entirely new features like voice control improvements or interface redesigns. Set your TV to update automatically overnight if possible, so you always have the latest improvements without thinking about it.
Connect Your TV to the Internet
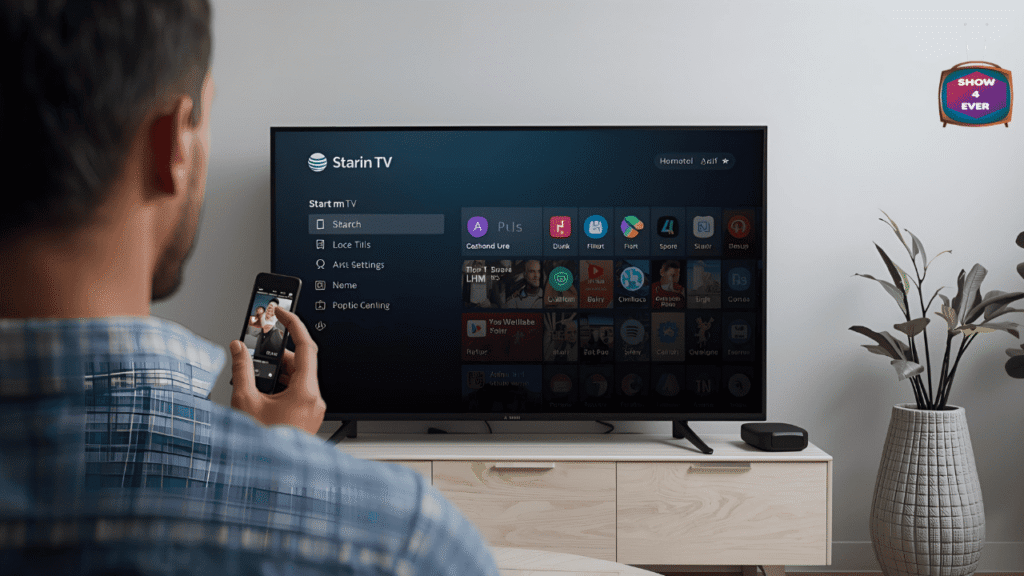
Set up a Wi-Fi connection through TV settings.
Getting your TV connected to Wi-Fi is pretty straightforward on most modern smart TVs. Start by grabbing your TV remote and navigating to the Settings menu – this is usually represented by a gear icon or might be labeled as “Setup” depending on your TV brand. Look for “Network,” “Internet,” or “Wi-Fi” options within the settings menu.
Once you’re in the network settings, select “Wireless” or “Wi-Fi Setup.” Your TV will scan for available networks in your area. Find your home network from the list and select it. You’ll need to enter your Wi-Fi password using the on-screen keyboard. Most TVs let you use the remote’s directional pad to navigate between letters, though some newer models support voice input or smartphone apps for easier typing.
After entering your password, hit “Connect” and wait for your TV to establish the connection. The process typically takes 30-60 seconds. Your TV will display a confirmation message once connected successfully. Some TVs also show signal strength indicators, which help you understand your connection quality.
If your network doesn’t appear in the list, try refreshing the scan or manually entering your network name (SSID) and password. Make sure your router is broadcasting its network name and isn’t set to hidden mode.
Use an Ethernet cable for a stable wired connection.
Ethernet connections offer the most reliable streaming experience, especially for 4K content or households with multiple streaming devices. Locate the Ethernet port on your TV – it’s typically found on the back panel alongside other input ports and looks like a slightly larger phone jack.
Connect one end of an Ethernet cable to your TV’s port and the other end to an available port on your router or modem. Most modern TVs automatically detect wired connections and configure themselves without additional setup. If your TV doesn’t automatically switch to the wired connection, go to your network settings and select “Wired” or “Ethernet” as your connection type.
The main advantage of Ethernet is consistent performance. Unlike Wi-Fi, which can fluctuate based on distance from the router, interference from other devices, or network congestion, Ethernet provides stable bandwidth. This means fewer buffering interruptions and better picture quality, especially during peak internet usage hours.
For longer distances between your TV and router, consider using powerline adapters, which use your home’s electrical wiring to extend Ethernet connectivity. These adapters plug into wall outlets and can deliver Ethernet connections to rooms far from your router.
Test your internet speed for smooth streaming..
Before diving into streaming, check if your internet speed meets the requirements for your desired content quality. Most streaming services provide speed recommendations: Netflix suggests 25 Mbps for 4K Ultra HD, 5 Mbps for HD quality, and 3 Mbps for standard definition.
Test your speed directly on your TV using built-in speed test apps, or visit fast.com through your TV’s web browser if available. Many smart TVs include speed testing tools in their network settings. Run the test multiple times throughout the day, as internet speeds can vary based on network traffic and your internet service provider’s performance.
Compare your actual speeds with streaming service requirements:
| Quality Level | Netflix | Amazon Prime | Disney+ | YouTube |
|---|---|---|---|---|
| SD (480p) | 3 Mbps | 1 Mbps | 2 Mbps | 1 Mbps |
| HD (1080p) | 5 Mbps | 5 Mbps | 5 Mbps | 2.5 Mbps |
| 4K Ultra HD | 25 Mbps | 15 Mbps | 25 Mbps | 20 Mbps |
If your speeds fall short, contact your internet provider about upgrading your plan or troubleshooting your home network setup. Sometimes, simply restarting your router can improve performance.
Troubleshoot common connectivity issues
When your TV won’t connect to the internet, start with basic troubleshooting steps. First, restart both your TV and router by unplugging them for 30 seconds, then plugging them back in. This simple step resolves many temporary connectivity glitches.
Check if other devices in your home can connect to the internet. If your phone or laptop also can’t connect, the issue lies with your internet service or router rather than your TV. Contact your internet service provider if multiple devices are affected.
For Wi-Fi-specific issues, move your router closer to your TV or remove physical obstructions between them. Thick walls, metal objects, and other electronic devices can interfere with Wi-Fi signals. Consider upgrading to a mesh network system if your home has persistent Wi-Fi dead zones.
Password errors are common culprits. Double-check that you’re entering the correct Wi-Fi password, paying attention to uppercase and lowercase letters. Reset your network settings on the TV if the password was recently changed.
If your TV connects but streaming is slow or keeps buffering, the issue might be bandwidth congestion. Pause downloads on other devices, close streaming apps on phones or tablets, and try streaming during off-peak hours. Some routers offer Quality of Service (QoS) settings that prioritize streaming traffic over other internet activities.
Set Up Popular Streaming Services
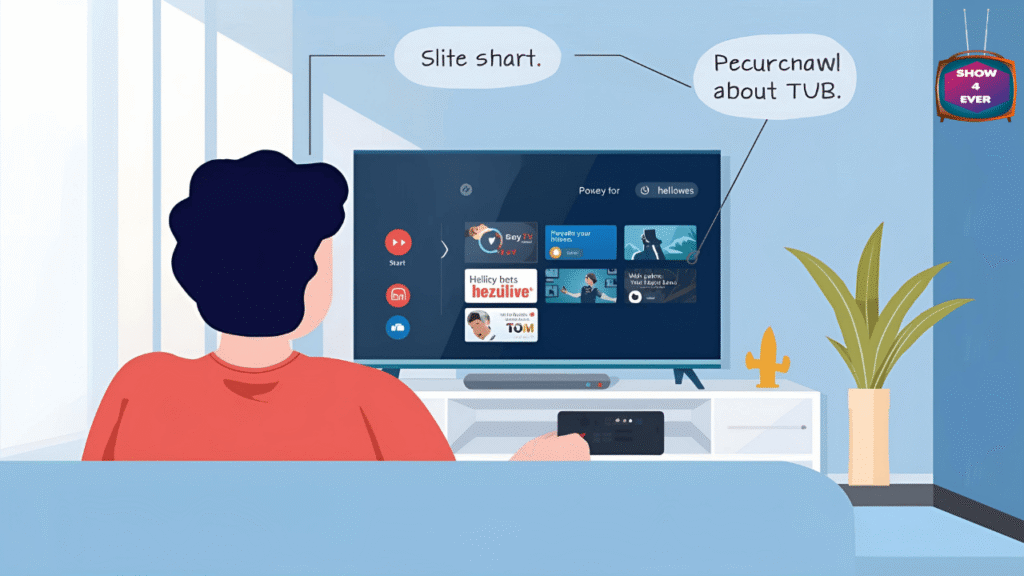
Download and install Netflix, Hulu, and Amazon Prime apps
Finding and installing streaming apps on your TV is straightforward once you know where to look. Most smart TVs have a dedicated app store or content platform where you can browse available streaming services. Look for icons like “App Store,” “Smart Hub,” “webOS Store,” or “Google Play Store,” depending on your TV brand.
Search for Netflix, Hulu, and Amazon Prime Video using the search function or browse through the entertainment category. These three services are typically featured prominently since they’re among the most popular. Click on each app and select “Install” or “Download.” The installation process usually takes just a few minutes, and you’ll see a progress bar showing the download status.
After installation, the apps will appear on your TV’s home screen or in your apps menu. Some TVs automatically create shortcuts on the main interface for quick access. If you can’t find the newly installed apps, check your TV’s settings menu for an option to customize the home screen layout.
Sign in with your existing streaming service accounts
Once your apps are installed, launching them for the first time will prompt you to sign in. You’ll see login screens asking for your email address and password. If you already subscribe to these services, enter your existing credentials.
For Netflix, you can sign in using your email and password, or use the “Sign in with TV code” option if you prefer to complete the login process on your phone or computer. Hulu offers similar options, including the ability to sign in through your TV provider if you have Hulu included in your cable or satellite package.
Amazon Prime Video works seamlessly if you’re already an Amazon Prime member. Use the same login information you use for Amazon shopping. The app will automatically recognize your Prime membership and give you access to the full Prime Video library.
Some smart TVs offer voice control for entering login information, which can be helpful if typing with a remote control feels cumbersome. Look for a microphone button on your remote and speak your credentials clearly.
Create new accounts for services you want to t..ry
Ready to explore new streaming options? Creating accounts directly through your TV is possible, though you might find it easier to sign up using a computer or smartphone first. Most streaming services offer free trials, making it risk-free to test their content libraries.
Netflix typically offers a 30-day free trial for new subscribers. When you open the app without an account, select “Start Your Free Month” and follow the prompts. You’ll need to provide an email address, create a password, and add a payment method, though you won’t be charged during the trial period.
Hulu provides various subscription tiers, including ad-supported and ad-free options. Their free trial lengths vary by plan, so check the current offers when signing up. The app will walk you through selecting a plan that fits your viewing preferences and budget.
Amazon Prime Video can be subscribed to independently of an Amazon Prime membership. If you don’t want the full Prime benefits, you can sign up for just the video service at a lower monthly cost. The signup process is straightforward and includes a free trial period.
Remember to set reminders about when your free trials end if you don’t want to continue with paid subscriptions. Most services make it easy to cancel before you’re charged, but you need to remember to do it.
Use External Streaming Devices
Connect Roku, Fire TV Stick, or Chromecast to your TV
Setting up these popular streaming devices is straightforward and takes just a few minutes. Start by plugging your device into an available HDMI port on your TV – you’ll find these ports on the back or side of most modern TVs. For Roku and Fire TV Stick, connect the power cable to either a wall outlet or a USB port on your TV if available.
Switch your TV to the correct HDMI input using your remote’s input or source button. Your streaming device should automatically boot up and display its setup screen. Connect to your WiFi network by selecting it from the available networks and entering your password.
Chromecast works differently – after plugging it in, download the Google Home app on your phone or tablet to complete setup. The app will guide you through connecting Chromecast to your WiFi network and linking it to your Google account.
Most devices will prompt you to create accounts or sign into existing ones. Roku requires a Roku account (free), while Fire TV Stick uses your Amazon account. Having these accounts ready speeds up the process significantly.
Set up Apple TV or gaming consoles for streaming..
Apple TV offers premium streaming capabilities but requires more setup steps than basic streaming sticks. Connect the Apple TV to your HDMI port and power source, then use the included Siri Remote to navigate through setup. You’ll need your Apple ID and password to access the full range of features and your purchased content.
Gaming consoles like PlayStation and Xbox double as excellent streaming devices. Access the console’s app store to download streaming apps like Netflix, Hulu, Disney+, and others. Both PlayStation and Xbox offer 4K streaming capabilities on their newer models, making them solid alternatives to dedicated streaming devices.
The advantage of using gaming consoles is consolidation – you get gaming and streaming in one device. However, they consume more power than dedicated streaming devices and may have longer boot times when you just want to watch something quickly.
Configure device settings for the best picture quality
Dive into your streaming device’s display settings to maximize picture quality. Look for resolution settings and select the highest option your TV supports – typically 1080p or 4K. Enable HDR (High Dynamic Range) if both your TV and streaming device support it for richer colors and better contrast.
Check your TV’s picture mode settings too. Many TVs have specific modes for streaming or gaming that optimize processing for these activities. Disable motion smoothing or soap opera effect if you prefer natural-looking content – this setting often makes movies look like soap operas.
Adjust bandwidth settings in individual streaming apps if your internet connection isn’t consistently fast. Netflix, for example, lets you set data usage preferences. Choose “High” for best quality if you have unlimited data, or “Medium” to balance quality with data usage.
Organize your streaming apps for easy access..
Smart organization saves time and frustration when browsing for content. Move your most-used apps to the home screen or main menu area. Roku and Fire TV allow you to rearrange apps by highlighting them and pressing the options button, then selecting “Move.”
Create folders or channels on devices that support this feature. Group similar content together – put all sports apps in one section, movie services in another, and kids’ content separately. This organization becomes especially valuable as you add more streaming services over time.
Remove apps you never use to reduce clutter. Most streaming devices let you delete or hide unused applications. Keep only the services you actively pay for or use regularly. You can always reinstall apps later if needed, so don’t worry about permanently losing access to free services.
Set up universal search features where available. Apple TV, Roku, and Fire TV offer search functions that look across multiple streaming services simultaneously, helping you find content without opening individual apps.
Optimize Your Streaming Experience: How do I Stream Start my TV?
Adjust Picture and Audio Settings for Your Preferences
Getting the perfect visual and audio experience makes all the difference when binge-watching your favorite shows. Start by exploring your TV’s picture settings menu, where you’ll find options like brightness, contrast, color saturation, and sharpness. Most TVs come with preset modes like “Movie,” “Sports,” or “Vivid” – try each one to see what looks best to your eyes.
For streaming content specifically, enable HDR (High Dynamic Range) if your TV supports it. This feature dramatically improves color depth and contrast, making everything from dark scenes in thrillers to bright outdoor shots look more realistic. Don’t forget about motion settings either – if you notice soap opera effect or judder during action scenes, adjust the motion smoothing or turn it off completely.
Audio deserves equal attention. If you’re using your TV’s built-in speakers, experiment with sound modes like “Cinema,” “Music,” or “Clear Voice” to find what works best for different content types. Consider investing in a soundbar or surround sound system if you want that theater-like experience at home.
Set Up Parental Controls and User Profiles
Creating separate profiles keeps everyone’s viewing preferences organized while protecting younger viewers from inappropriate content. Most streaming platforms like Netflix, Disney+, and Hulu offer robust profile management systems that let you set age restrictions and content filters for each family member.
Start by creating a main administrator account, then add individual profiles for each person. For kids’ profiles, you can restrict content by age rating (G, PG, PG-13, etc.) or by specific content categories. Some platforms even offer curated kids’ interfaces with simpler navigation and child-friendly recommendations.
PIN protection adds another security layer – set up a PIN requirement for accessing mature content or making purchases. This prevents accidental access to inappropriate material and stops unexpected charges on your account.
Manage Your Streaming Subscriptions and Costs
Streaming costs can pile up quickly if you’re not paying attention. Take inventory of all your active subscriptions monthly and cancel services you’re not actively using. Many people forget about free trials that automatically convert to paid subscriptions.
Consider rotating subscriptions based on what you’re currently watching. Cancel Netflix during months when you’re focused on HBO Max content, then switch back later. This strategy can save hundreds of dollars annually while still giving you access to the content you want.
Bundle deals often provide better value – some internet providers offer streaming service packages at discounted rates. Check if your wireless carrier includes any streaming perks, as many now offer free or discounted subscriptions as part of their plans.
Create Watchlists and Personalize Recommendations
Smart watchlist management turns endless scrolling into efficient viewing. Add shows and movies to your list as soon as you hear about them, whether from friends, social media, or trailers. This creates a personal queue of content you actually want to watch instead of spending 30 minutes browsing aimlessly.
Rate everything you watch to improve recommendation algorithms. Thumbs-up and thumbs-down ratings directly influence what streaming services suggest next. The more feedback you provide, the better platforms become at predicting your preferences.
Clean up your “Continue Watching” row regularly by removing shows you’ve abandoned or finished watching with others. This keeps your home screen focused on content you’re genuinely interested in continuing.
Cross-platform watchlist apps like JustWatch or TV Time help track content across multiple streaming services, showing you exactly where to find specific movies and shows while keeping everything organized in one place.
Streaming on your TV doesn’t have to be complicated once you know the basics. Start by exploring what your TV can already do, get it connected to your internet, and then add your favorite streaming apps. If your TV needs a boost, grab a streaming device like Roku or Apple TV to unlock all the content you want.
Ready to dive into endless entertainment? Pick one streaming service to start with, test your internet connection, and don’t forget to adjust those picture settings for the best viewing experience. Your perfect movie night is just a few clicks away – time to get streaming!
Table of Contents
Share this content:







9 comments